Migration assessment TECH PREVIEW
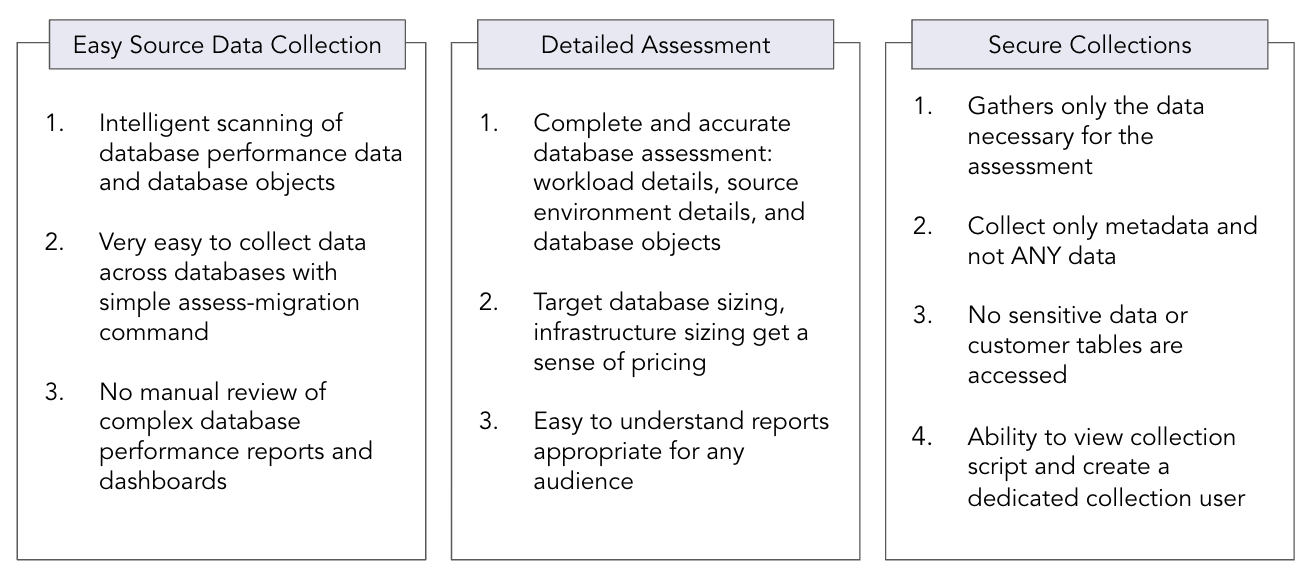
The Voyager Migration Assessment feature streamlines database migration from PostgreSQL and Oracle to YugabyteDB. It analyzes the source database, captures essential metadata, and generates a report with recommended migration strategies and cluster configurations for optimal performance with YugabyteDB.
Overview
When you run an assessment, Voyager gathers key metadata and metrics from the source database, such as table column details, sizes of tables and indexes, and read/write IOPS.

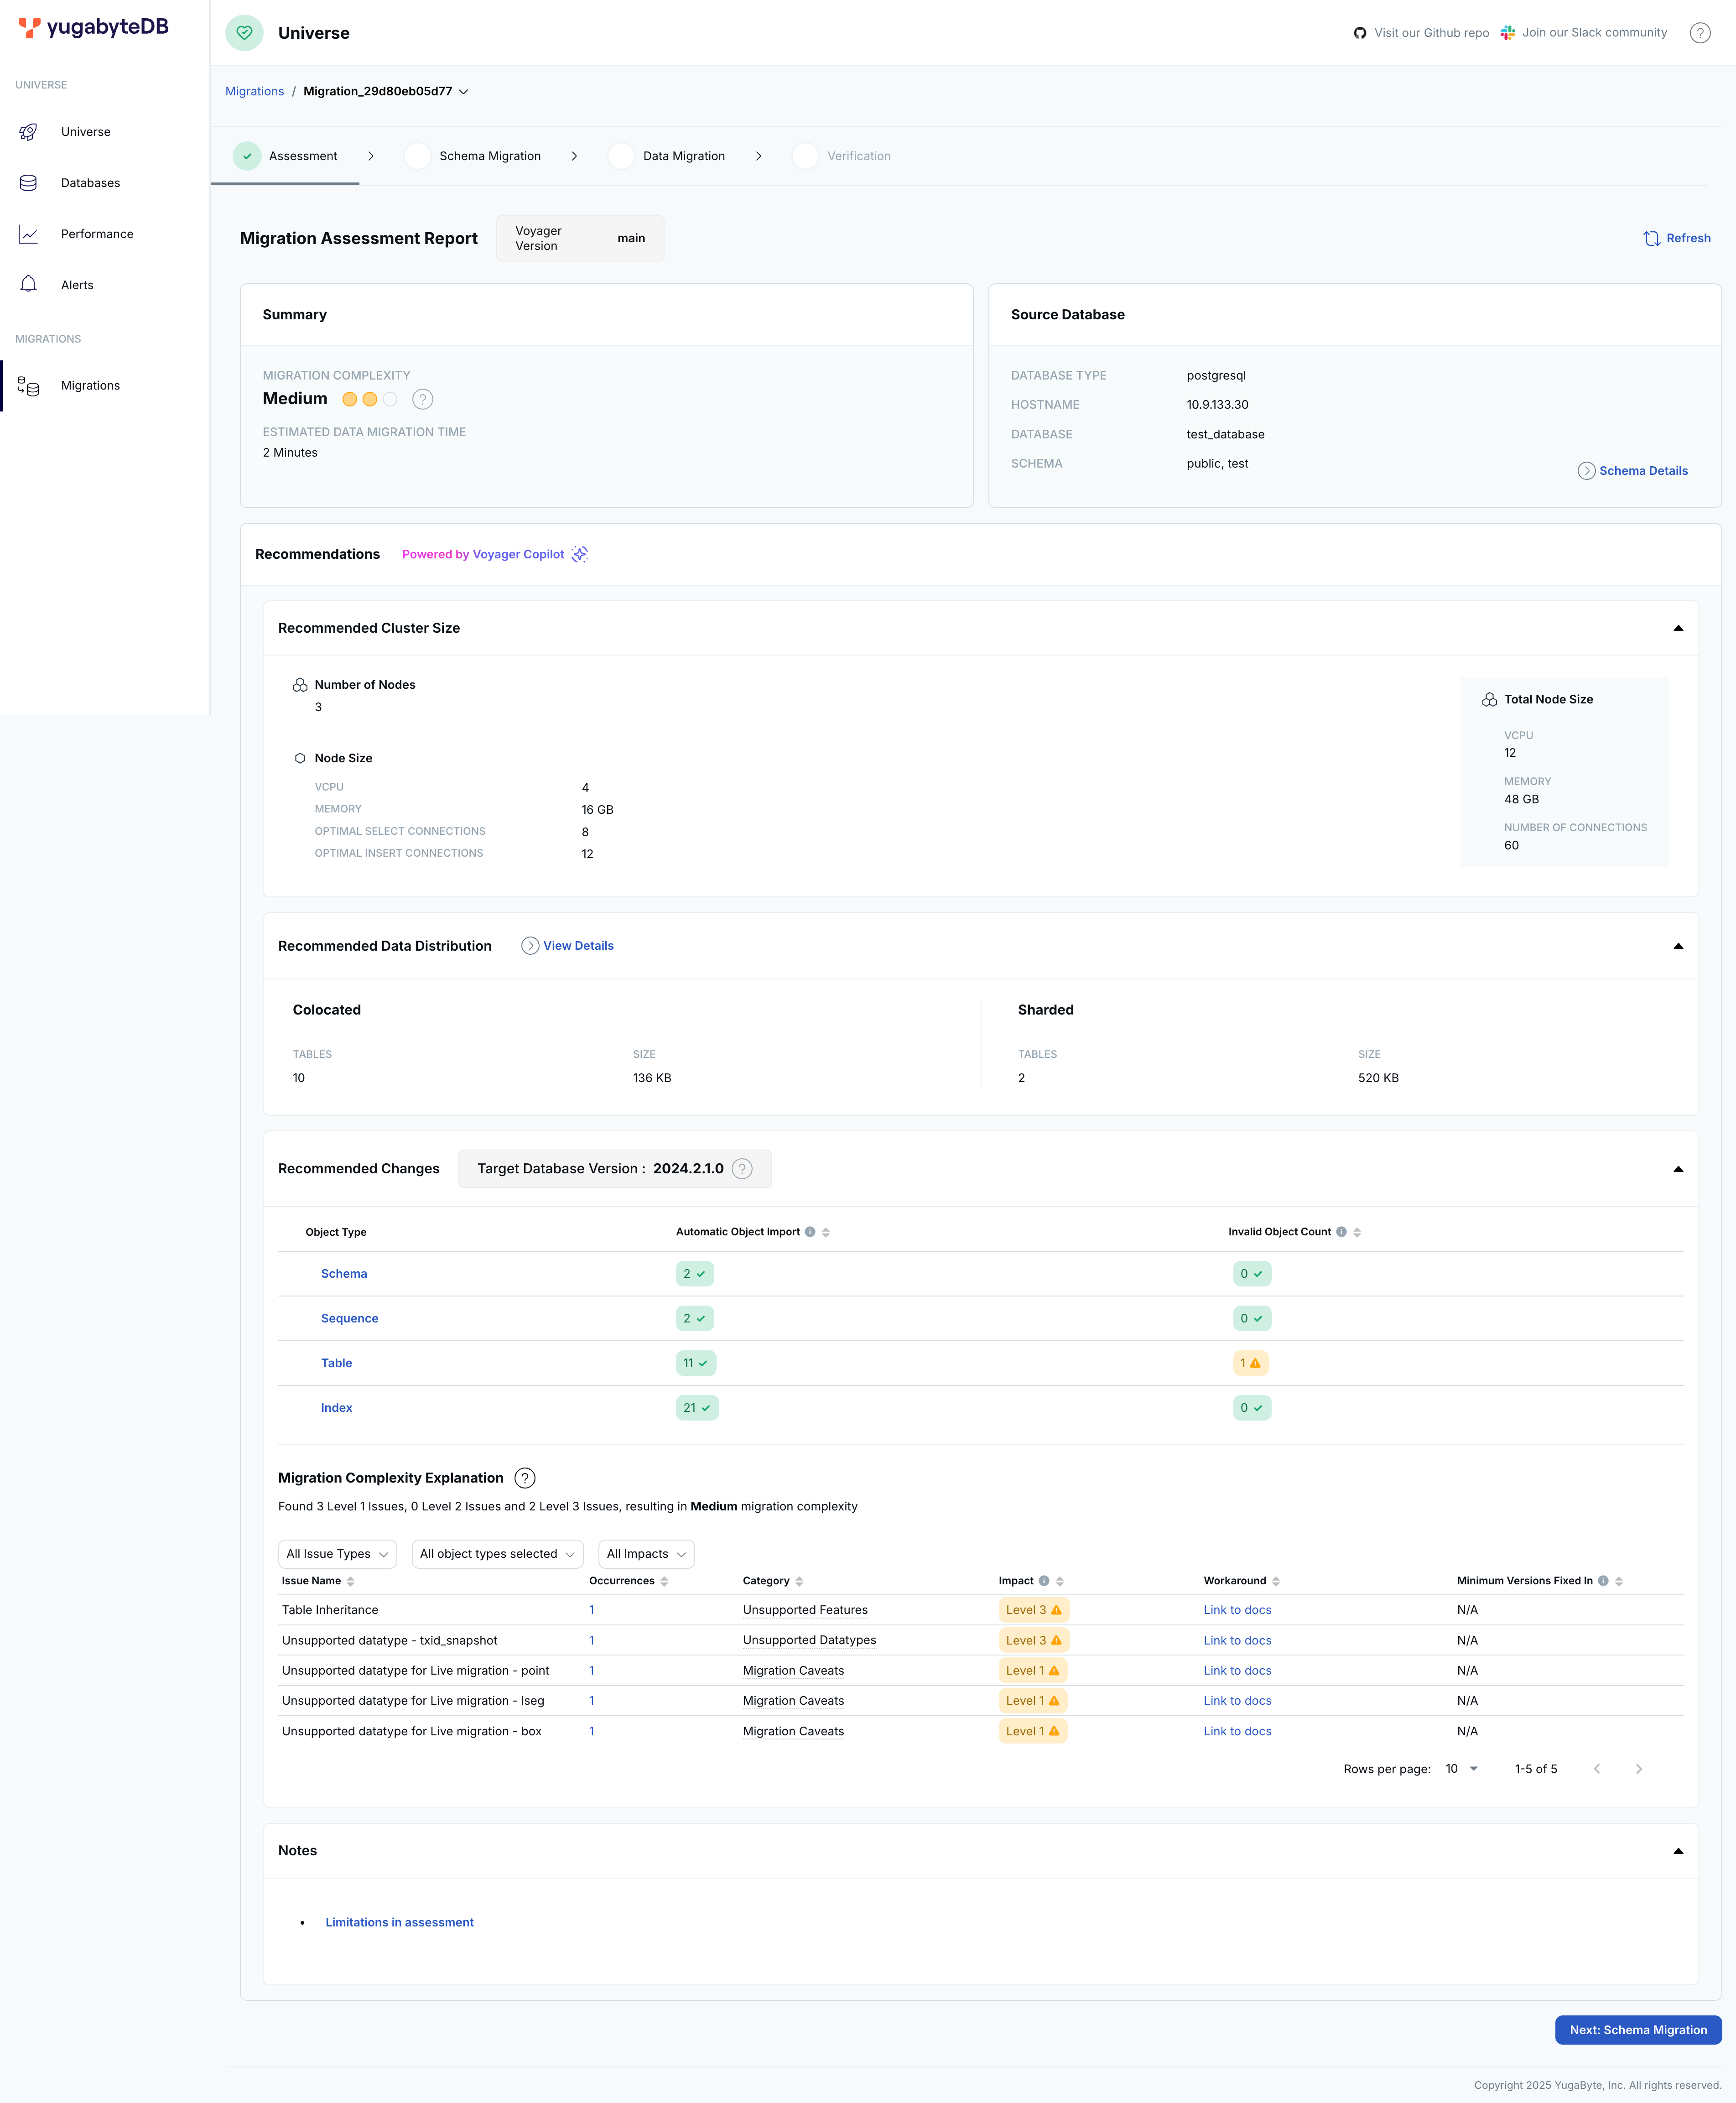
Voyager then generates a report that includes:
- Recommended schema changes: Analyzes compatibility with YugabyteDB, highlighting unsupported features and data types. Also, analyzes the schema for any caveats to ensure smooth migration.
- Recommended cluster sizing: Estimates the resources needed for the target environment based on table sizes, number of tables, and throughput requirements.
- Recommended data distribution: Suggests effective sharding strategies for tables and indexes.
- Performance metrics: Analyzes workload characteristics to recommend optimizations in YugabyteDB.
- Performance optimizations: Identifies schema DDLs that may impact application performance after migrating to YugabyteDB. It highlights potentially inefficient DDLs and provides recommendations to optimize them for better performance.
- Migration time estimate: Provides an estimated time for data import into YugabyteDB based on experimental data.
- Unsupported query constructs: Identifies SQL features and constructs not supported by YugabyteDB, such as advisory locks, system columns, and XML functions, and provides a list of queries containing these constructs.
- Unsupported PL/pgSQL objects: Identifies SQL features and constructs that are not supported by YugabyteDB, such as advisory locks, system columns, and XML functions, within PL/pgSQL objects in the source schema. It reports the individual queries within these objects that are not supported, such as queries in the PL/pgSQL block for functions and procedures, or the select statements in views and materialized views that contain unsupported constructs.
When running migration assessment, keep in mind the following:
-
The recommendations are based on testing using a RF3 YugabyteDB cluster on instance types with 4GiB memory per core and running v2024.1.
-
To detect unsupported query constructs, ensure the pg_stat_statements extension is properly installed and enabled on source.
-
To disable unsupported query construct detection, set the environment variable
REPORT_UNSUPPORTED_QUERY_CONSTRUCTS=false. -
To disable unsupported PL/pgSQL object detection, set the environment variable
REPORT_UNSUPPORTED_PLPGSQL_OBJECTS=false. -
To detect certain performance optimizations, ensure that ANALYZE (PostgreSQL) is run on the source database.
The following table describes the type of data that is collected during a migration assessment.
| Data | Collected | Details |
|---|---|---|
| Application or user data | No | No application or user data is collected. |
| Passwords | No | The assessment does not store any passwords. |
| Database metadata schema, object, object names |
Yes | Voyager collects the schema metadata including table IOPS, table size, and so on, and the actual schema. |
| Database name | Yes | Voyager collects database and schema names to be used in the generated report. |
| Performance metrics | Optional | Voyager captures performance metrics from the database (IOPS) for rightsizing the target environment. |
| Server or database credentials | No | No server or database credentials are collected. |
Prepare for migration assessment
Before you run a migration assessment, do the following:
-
Prepare the source database as follows:
Create a new database user, and assign the necessary user permissions.
Create a database user and provide the user with READ access to all the resources which need to be migrated. Run the following commands in a psql session:
-
Create a new user named
ybvoyager.CREATE USER ybvoyager PASSWORD 'password'; -
Grant permissions for migration. Use the yb-voyager-pg-grant-migration-permissions.sql script (in
/opt/yb-voyager/guardrails-scripts/or, for brew, check in$(brew --cellar)/yb-voyager@<voyagerversion>/<voyagerversion>) to grant the required permissions as follows:psql -h <host> \ -d <database> \ -U <username> \ # A superuser or a privileged user with enough permissions to grant privileges -v voyager_user='ybvoyager' \ -v schema_list='<comma_separated_schema_list>' \ -v is_live_migration=0 \ -v is_live_migration_fall_back=0 \ -f <path_to_the_script>The
ybvoyageruser can now be used for migration.
If you want yb-voyager to connect to the source database over SSL, refer to SSL Connectivity.
Create a role and a database user, and provide the user with READ access to all the resources which need to be migrated.
-
Create a role that has the privileges as listed in the following table:
Permission Object type in the source schema SELECTVIEW, SEQUENCE, TABLE PARTITION, TABLE, SYNONYM, MATERIALIZED VIEW EXECUTETYPE Change the
<SCHEMA_NAME>appropriately in the following snippets, and run the following steps as a privileged user.CREATE ROLE <SCHEMA_NAME>_reader_role; BEGIN FOR R IN (SELECT owner, object_name FROM all_objects WHERE owner=UPPER('<SCHEMA_NAME>') and object_type in ('VIEW','SEQUENCE','TABLE PARTITION','SYNONYM','MATERIALIZED VIEW')) LOOP EXECUTE IMMEDIATE 'grant select on '||R.owner||'."'||R.object_name||'" to <SCHEMA_NAME>_reader_role'; END LOOP; END; / BEGIN FOR R IN (SELECT owner, object_name FROM all_objects WHERE owner=UPPER('<SCHEMA_NAME>') and object_type ='TABLE' MINUS SELECT owner, table_name from all_nested_tables where owner = UPPER('<SCHEMA_NAME>')) LOOP EXECUTE IMMEDIATE 'grant select on '||R.owner||'."'||R.object_name||'" to <SCHEMA_NAME>_reader_role'; END LOOP; END; / BEGIN FOR R IN (SELECT owner, object_name FROM all_objects WHERE owner=UPPER('<SCHEMA_NAME>') and object_type = 'TYPE') LOOP EXECUTE IMMEDIATE 'grant execute on '||R.owner||'."'||R.object_name||'" to <SCHEMA_NAME>_reader_role'; END LOOP; END; / GRANT SELECT_CATALOG_ROLE TO <SCHEMA_NAME>_reader_role; GRANT SELECT ANY DICTIONARY TO <SCHEMA_NAME>_reader_role; GRANT SELECT ON SYS.ARGUMENT$ TO <SCHEMA_NAME>_reader_role; -
Create a user
ybvoyagerand grantCONNECTand<SCHEMA_NAME>_reader_roleto the user:CREATE USER ybvoyager IDENTIFIED BY password; GRANT CONNECT TO ybvoyager; GRANT <SCHEMA_NAME>_reader_role TO ybvoyager;If you're using accelerated data export, run the additional grant as follows:
GRANT FLASHBACK ANY TABLE TO ybvoyager; -
If you're using accelerated data export, the
log_modeshould be archivelog.-
Check the value for
log_modeusing the following command for Oracle/Oracle RDS:SELECT LOG_MODE FROM V$DATABASE; -
If the
log_modevalue isNOARCHIVELOG, run the following commands:For Oracle
sqlplus /nolog
SQL>alter system set db_recovery_file_dest_size = 10G;
SQL>alter system set db_recovery_file_dest = '<oracle_path>/oradata/recovery_area' scope=spfile;
SQL> connect / as sysdba
SQL> Shutdown immediate
SQL> Startup mount
SQL> Alter database archivelog;
SQL> Alter database open;
For Oracle RDS
Note that the following step assumes you're using SQL*Plus or a compatible Oracle client that supports
EXEC. If your client doesn't supportEXEC, use the standard SQL CALL syntax instead.exec rdsadmin.rdsadmin_util.set_configuration('archivelog retention hours',24); -
Verify using
archive log list.
-
If you want yb-voyager to connect to the source database over SSL, refer to SSL Connectivity. Note that you can use only one of the following arguments when connecting to your Oracle instance:
Configuration file source parameter CLI Flag Description db-schema --source-db-schema Schema name of the source database. oracle-db-sid --oracle-db-sid Oracle System Identifier you can use while exporting data from Oracle instances. oracle-tns-alias --oracle-tns-alias TNS (Transparent Network Substrate) alias configured to establish a secure connection with the server. -
-
Create an export directory on a file system that has enough space to keep the entire source database. Ideally, create this export directory inside a parent folder named after your migration for better organization. For example:
mkdir -p $HOME/<migration-name>/export-dirYou need to provide the full path to your export directory in the
export-dirparameter of your configuration file, or in the--export-dirflag when runningyb-voyagercommands. -
Set up a configuration file to specify the parameters required when running Voyager commands (v2025.6.2 or later).
To get started, copy the
offline-migration.yamltemplate configuration file from one of the following locations to the migration folder you created (for example,$HOME/my-migration/):/opt/yb-voyager/config-templates/offline-migration.yaml$(brew --cellar)/yb-voyager@<voyager-version>/<voyager-version>/config-templates/offline-migration.yamlReplace
<voyager-version>with your installed Voyager version, for example,2025.5.2.Set the export-dir and source arguments in the configuration file:
# Replace the argument values with those applicable for your migration.

export-dir: <absolute-path-to-export-dir>

source:
  db-type: <source-db-type>
  db-host: <source-db-host>
  db-port: <source-db-port>
  db-name: <source-db-name>
  db-schema: <source-db-schema> # Not applicable for MySQL
  db-user: <source-db-user>
  db-password: <source-db-password> # Enclose the password in single quotes if it contains special characters.
Configure yugabyted UI
You can use yugabyted UI to view the migration assessment report, and to visualize and review the database migration workflow performed by YugabyteDB Voyager.
To be able to view the assessment report in the yugabyted UI, do the following:
-
Start a local YugabyteDB cluster. Refer to the steps described in Use a local cluster.
Note
After a migration assessment, if you choose to migrate using the open source YugabyteDB, you will be using this same local cluster as your target database. -
Set the following configuration parameters before starting the migration:
### Control plane type refers to the deployment type of YugabyteDB
control-plane-type: yugabyted

### YSQL connection string
### Provide the standard PostgreSQL connection parameters, including user name, host name, and port. For example, postgresql://yugabyte:yugabyte@127.0.0.1:5433
yugabyted-db-conn-string: postgresql://yugabyte:yugabyte@127.0.0.1:5433
Note
Don't include thedbnameparameter in the connection string; the defaultyugabytedatabase is used to store the meta information for showing the migration in the yugabyted UI.
Assess migration
Assess your migration using the following steps:
-
Run the assessment.
Voyager supports two primary modes for conducting migration assessments, depending on your access to the source database as follows:
This mode requires direct connectivity to the source database from the client machine where voyager is installed. You initiate the assessment by executing the
assess-migrationcommand ofyb-voyager. This command facilitates a live analysis by interacting directly with the source database, to gather metadata required for assessment. A sample command is as follows:yb-voyager assess-migration --source-db-type postgresql \ --source-db-host hostname --source-db-user ybvoyager \ --source-db-password password --source-db-name dbname \ --source-db-schema schema1,schema2 --export-dir /path/to/export/dirIf you are using a configuration file, use the following:
yb-voyager assess-migration --config-file <path-to-config-file>PostgreSQL only. In situations where direct access to the source database is restricted, there is an alternative approach. Voyager includes packages with scripts for PostgreSQL at
/etc/yb-voyager/gather-assessment-metadata.You can perform the following steps with these scripts:
-
On a machine which has access to the source database, copy the scripts and install dependencies psql and pg_dump version 14 or later. Alternatively, you can install yb-voyager on the machine to automatically get the dependencies.
-
Run the
yb-voyager-pg-gather-assessment-metadata.shscript by providing the source connection string, the schema names, path to a directory where metadata will be saved, and an optional argument of an interval to capture the IOPS metadata of the source (in seconds with a default value of 120). For example:/path/to/yb-voyager-pg-gather-assessment-metadata.sh 'postgresql://ybvoyager@host:port/dbname' 'schema1|schema2' '/path/to/assessment_metadata_dir' '60' -
Copy the metadata directory to the client machine on which voyager is installed, and run the
assess-migrationcommand by specifying the path to the metadata directory as follows:yb-voyager assess-migration --source-db-type postgresql \ --assessment-metadata-dir /path/to/assessment_metadata_dir --export-dir /path/to/export/dirIf you are using a configuration file, use the following:
yb-voyager assess-migration --config-file <path-to-config-file>
The output is a migration assessment report, and its path is printed on the console.
Important
For the most accurate migration assessment, the source database must be actively handling its typical workloads at the time the metadata is gathered. This ensures that the recommendations for sharding strategies and cluster sizing are well-aligned with the database's real-world performance and operational needs. -
-
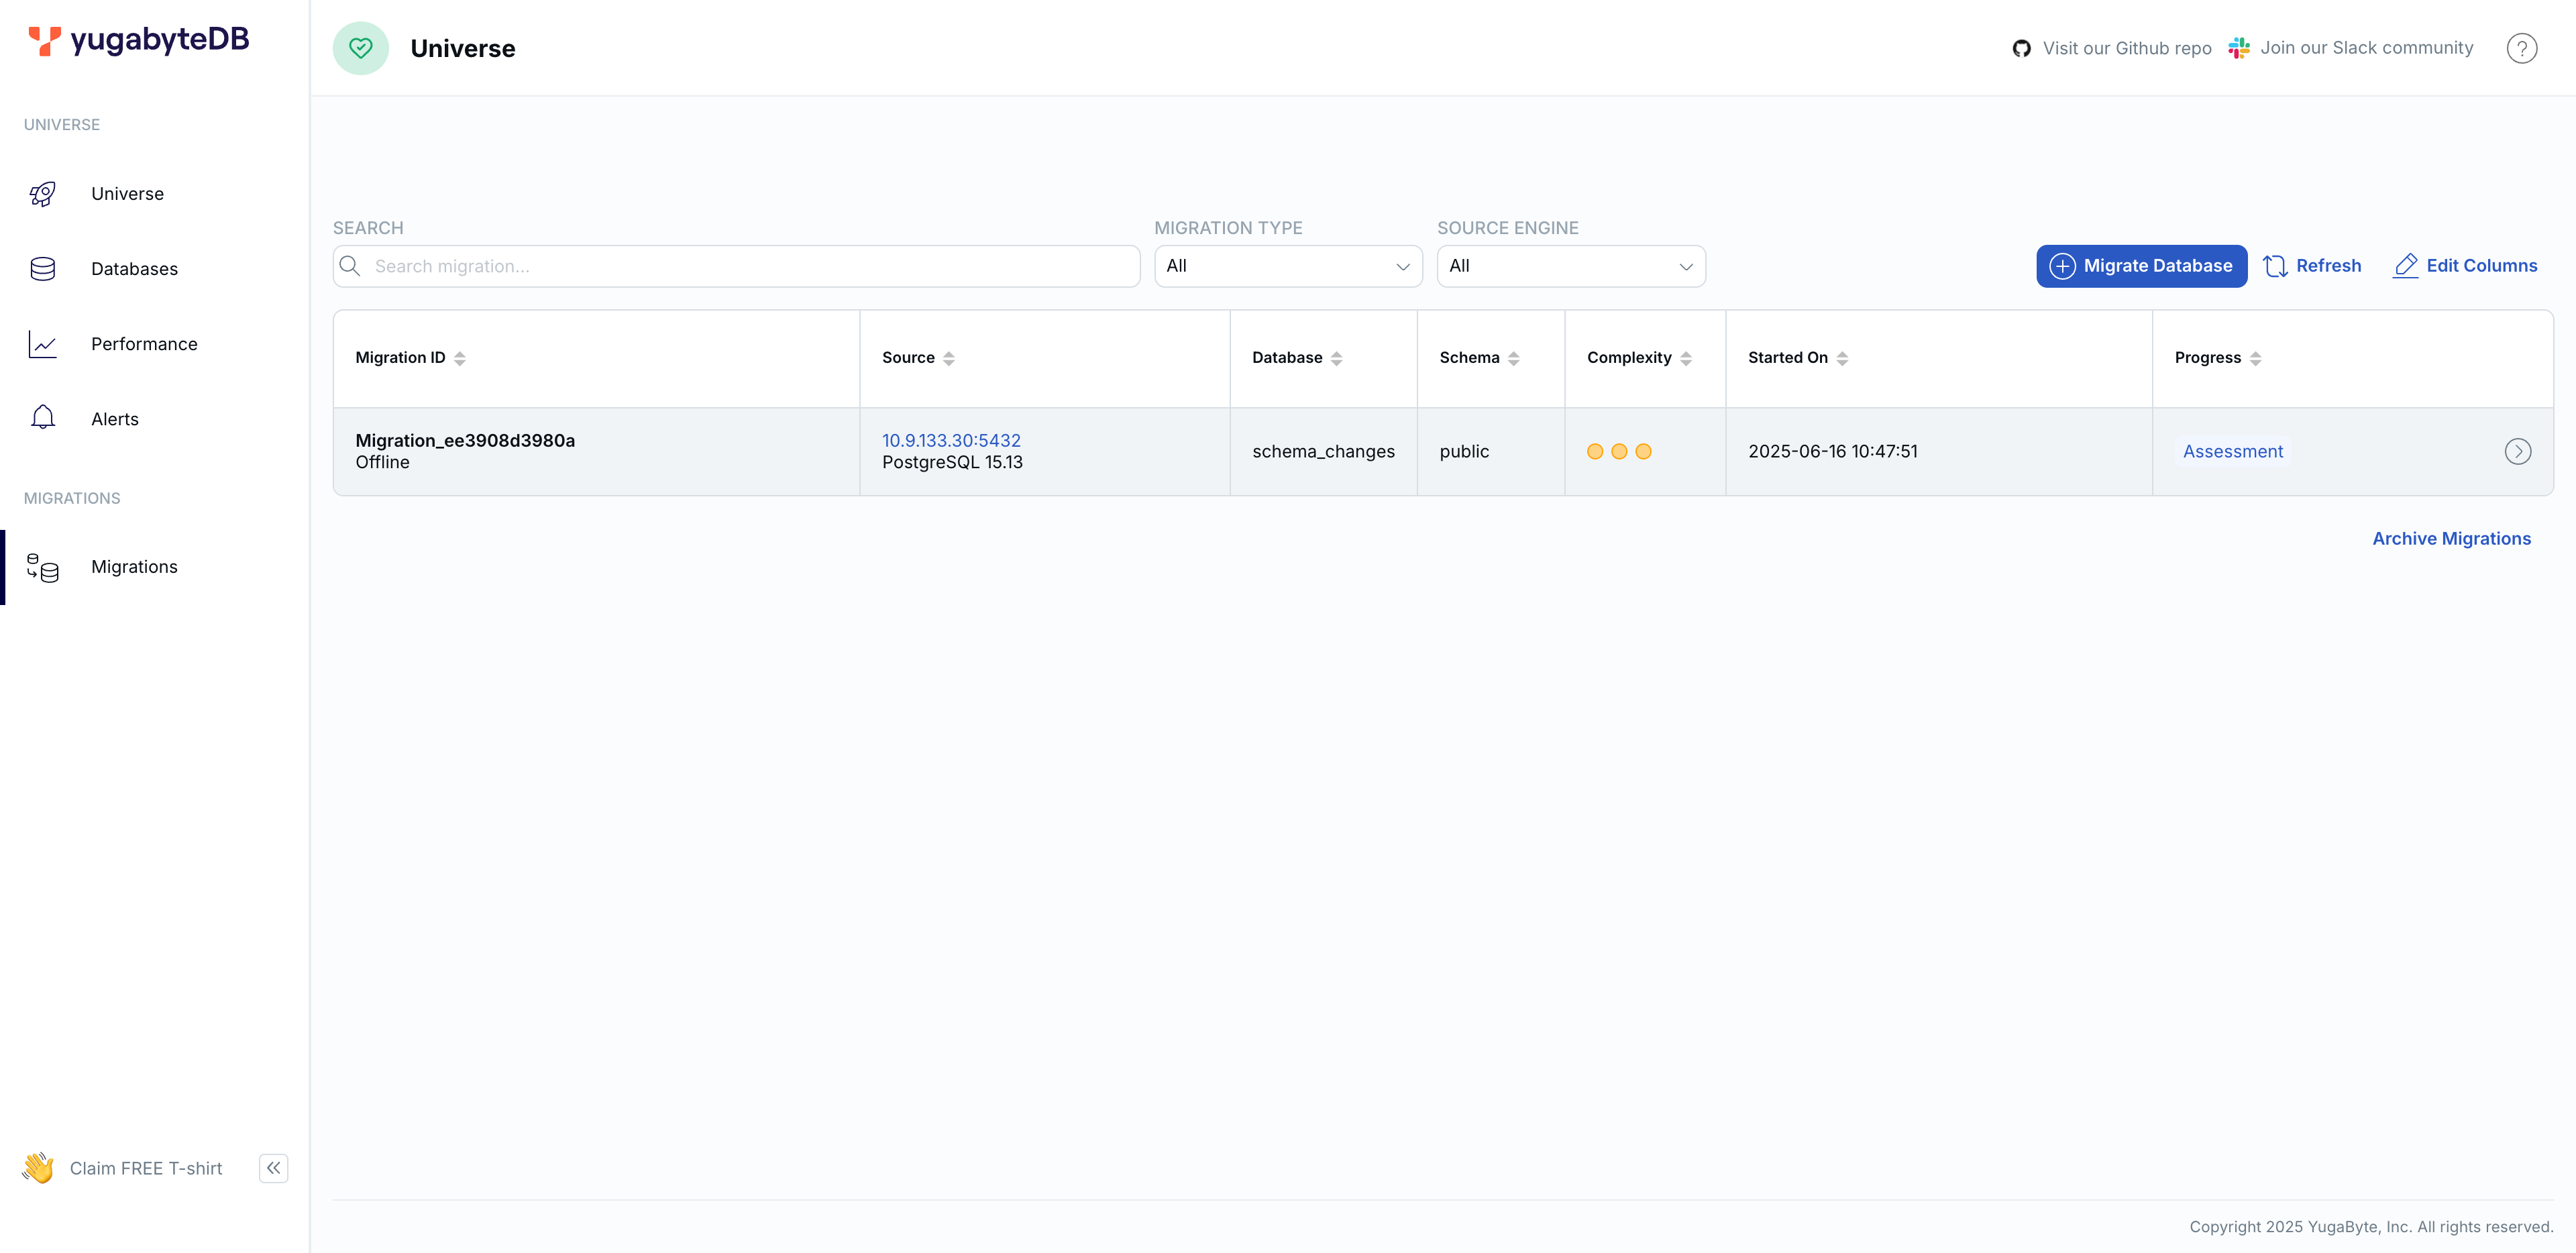
After generating the report, navigate to the Migrations tab in the yugabyted UI at http://127.0.0.1:15433 to see the available migrations. The report in the yugabyted UI includes migration strategies, complexity, and effort estimates.

 Report recommendations
Depending on the recommendations in the assessment report, do the following when you proceed with migration:
-
Create your target YugabyteDB cluster in Enhanced PostgreSQL Compatibility Mode.
If you are using YugabyteDB Anywhere, enable compatibility mode by setting the More > Edit Postgres Compatibility option.
-
The assessment provides recommendations on which tables in the source database to colocate, so when you prepare your target database, create the database with colocation set to TRUE.
-
-
Proceed with migration with one of the migration workflows:
Assess a fleet of databases (Oracle only)
Use the Bulk Assessment command (assess-migration-bulk) to assess multiple schemas across one or more database instances simultaneously. It offers:
- Multi-Schema Assessment: Assess multiple schemas in different database instances with a single command, simplifying migration planning.
- Centralized Reporting: All assessment reports are generated and stored in one organized directory, making
Command
To perform a bulk assessment, use the following command syntax:
yb-voyager assess-migration-bulk \
    --fleet-config-file /path/to/fleet_config_file.csv \
    --bulk-assessment-dir /path/to/bulk-assessment-dir \
    [--continue-on-error true|false] \
    [--start-clean true|false]
Fleet configuration file
Bulk assessment is managed using a fleet configuration file, which specifies the schemas to be assessed. The file is in CSV format.
- Header Row: The first row contains headers that define the fields for each schema.
- Schema Rows: Each subsequent row corresponds to a different schema to be assessed.
The following table outlines the fields that can be included in the fleet configuration file.
Field |
Description |
|---|---|
| source-db-type | Required. The type of source database. Currently, only Oracle is supported. |
| source-db-user | Required. The username used to connect to the source database. |
| source-db-password | Optional. The password for the source database user. If not provided, you will be prompted for the password during assessment of that schema. |
| source-db-schema | Required. The specific schema in the source database to be assessed. |
| source-db-host | Optional. The hostname or IP address of the source database server. |
| source-db-port | Optional. The port number on which the source database is running. This is required if oracle-tns-alias is not used. |
| source-db-name | Optional. The database name for connecting to the Oracle database. This is required if oracle-db-sid or oracle-tns-alias is not used. |
| oracle-db-sid | Optional. The Oracle System Identifier (SID). This is required if source-db-name or oracle-tns-alias is not used. |
| oracle-tns-alias | Optional. The TNS alias used for Oracle databases, which can include connection details such as host, port, and service name. This is required if source-db-name or oracle-db-sid is not used. |
The following is an example fleet configuration file.
source-db-type,source-db-host,source-db-port,source-db-name,oracle-db-sid,oracle-tns-alias,source-db-user,source-db-password,source-db-schema
oracle,example-host1,1521,ORCL,,,admin,password,schema1
oracle,example-host2,1521,,ORCL_SID,,admin,password,schema2
oracle,,,,,tns_alias,oracle_user,password,schema3
Directory structure
After the bulk assessment is completed, the top-level directory specified using the --bulk-assessment-dir flag includes subdirectories for each assessed schema. Additionally, a top-level report is generated that provides links to the individual assessment reports for each schema.
/bulk-assessment-dir/
├── bulk_assessment_report.html
├── bulk_assessment_report.json
├── DBNAME-SCHEMA1-export-dir/
│    └── assessment/
│          └── reports/
│                 ├── migration_assessment_report.html
│                 └── migration_assessment_report.json
├── SID-SCHEMA2-export-dir/
│    └── assessment/
│          └── reports/
│                 ├── migration_assessment_report.html
│                 └── migration_assessment_report.json
└── logs/
     └── yb-voyager-assess-migration-bulk.log